Showing posts with label family fun messy crafts. Show all posts

Summer Messy Play Activities for Preschoolers

Fun In The Sun - 6 Tips For Creating A Mud Kitchen For Your Kids


Kids love mud! And as dirty as they may get, it’s time to advocate messy play so they can learn new skills the fun way. The fastest and easiest way to encourage your kids to get outdoors is to build them a mud kitchen.They'll be tripping over each other to get outside

Building your own mud kitchen is a creative, cost-effective way of enabling messy play for your kids while saving money on an expensive play kitchen

You can build your mud kitchen in your own way, and in the end, your kids will have the perfect environment in which to get their hands dirty anytime.


This post contains Amazon affiliate links for your convenience.


Summer Messy Play Activities for Preschoolers

Photo: Jelleke Vanooteghem/Unsplash


Six tips to create your own mud kitchen


  1. Use What You’ve Got

Poke around your garage and see what you can recycle to save money on your mud kitchen. You can use wood, recycled pallets, and old timber for the construction. Old cookware and bakeware, utensils, and decorations can also be used to finish out the kitchen,

Remember, the idea is to ignite your child’s imagination, so your DIY mud kitchen doesn’t need to resemble a brand-new toy kitchen set. 


  1. Stove Tops Add to The Fun

While it’s great to leave some things up to the imagination, it’s a good idea to make your play kitchen resemble a real kitchen by creating a stove top. You can paint the burners on a piece of timber or wood, and you can even add broken or thrifted appliances to your outdoor kitchen to enhance its appearance. You can also use good, old cardboard to create a play stove.


  1. Bake Mud Cakes

The fun part of having a mud kitchen is that your kids get to play with mud and get as dirty as they want. All you need to make mud cakes is some sand or soil and water. You can use old cookware and bake ware to contain them and shape them like cakes and cupcakes.

Parents can get involved by showing kids how to create funky-shaped cookies with cookie cutters and molds or add colored pasta to the mud for added texture. This kind of sensory play is an important part of childhood development, but above all, it’s a whole lot of fun.


Pistachio Pudding Play Dough


  1. Set the Table

A mud kitchen is a fun way to teach your child table manners. Guide your preschoolers through setting a table and laying out the dishes. Show them the way to arrange cutlery and allow your children to bring some garden leaves to create napkins for a rustic table setting.


  1. Add a Sink

Since you’ve introduced messy play to your preschoolers with colored pasta and mud cakes, it’s a good idea to take care of the cleanup. The most logical way to do this is to add a sink to your mud kitchen! To create your sink, use a silver or grey bucket and fill it with water or a big flower put with the bottom plugged works nicely too.

Add a hose in the bucket so that there’s an accessible faucet. This is a great way to teach children how to clean up after themselves. Add some dish washing liquid and a sponge so you can wash all the cookware the kids used before bringing it back into the house!


How to Make your own Dish Washing Soap


  1. Dress For The Occasion

Every chef needs a chef’s hat and apron, so make sure to get these for your child. They will love it! Plus, the apron will offer some protection from mud splatter while playing. Rubber boots are a good idea too. Preschool age kids and toddlers love to wear galoshes!


How to Make your own Chef Hat


Have fun with your kiddos and their mud kitchen. You may want to wear some rubber boots yourself! Encourage your children to enjoy free and imaginative play, and you can bet they’ll learn tons of kitchen tricks in the process. Pretend play is the best way to learn!


Recommended Reading:

Pretend Play and Play Date Ideas from Adventures of Kids Creative Chaos

Fun Books about Galoshes from Amazon


Car Covers for Backseat: Bench Seat Cover with Split

Split Rearseat Cover for Car

Messy Kids? Ready for a big Chaotic Confession? We've got one super messy child dubbed, Mayhem. We needed car covers for the backseat for the past year. So, when Versa Via asked if we'd like to do a review, we jumped at the chance. The Versa Via split rearseat cover for car worked like magic, alas for our car, it was too late. Maybe, it isn't too late for your car? Keep scrolling for our car seat cover giveaway. Enjoy!


This post contains Amazon and other affiliate links.


Car Covers for Backseat: Bench Seat Cover with Split
Easy to install rear seat cover for car.

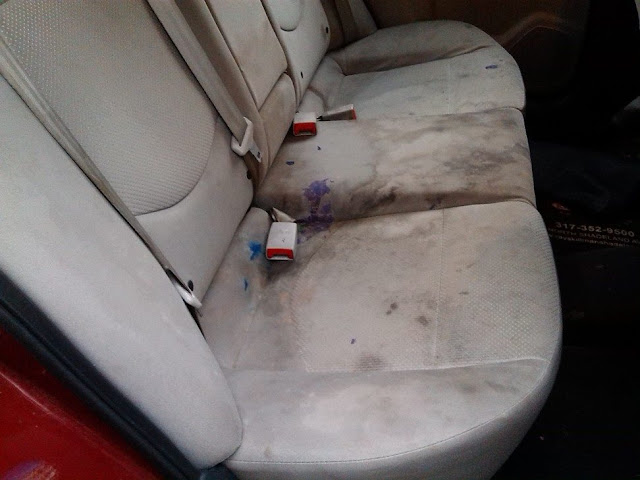
So, the Car Covers for Backseat were a necessity for us. We've had the car for almost 2 years now, so it is practically a new car, right? Not so much. Here goes... You might want to avert your eyes.


Split Rearseat Cover for Car
We desperately needed a Split Rearseat Cover for our Car.

What is that stuff? Well, there's some purple putty, blue candy, maple syrup, ketchup, chocolate milk, Florida sand, and maybe even some duck or chicken poo remnants. Yes, that's a big confession.


One day, after some Nerds (the candy) entered into the backseat, the seatbelt clicker broke. We tried to vacuum them out, but it was too late. RIP seatbelt.

Messy backseats. This fabric is unforgiving.


Another confession, we did attempt to clean the seat before installing the VersaVia Car Cover. We spent $5 sweeping it out and sprayed lots of vinegar and peroxide on it, but it was to no avail.

A bit of good news, we found lots of change and a few Nintendo DS games! Bad news, we even clogged the industrial vac at the carwash.

Mommy refused to sit in the backseat, so did Jake. Daddy would sit on a towel or chair pad. Sigh.

Then, our Split Rearseat Cover for Car arrived. It sat in the front entry for a week. We knew prepping the car was going to take some time. We also worried that the rear seat cover would be difficult to install. Wrong!

This installs in under 5 minutes. Super easy. It adjusts to the size of your seat, and it stays in position even when Mayhem is climbing around back there. If only, we had one BEFORE the mess.

Since we've installed it, The Littlest Pet Shop tiny bits don't fall between the fold or get stuck in the seat belt clicker...


Recommended:


Homemade Rainbow Slushy Recipe How to Make with Ice Pops

Homemade Rainbow Slushy Recipe to Make at Home

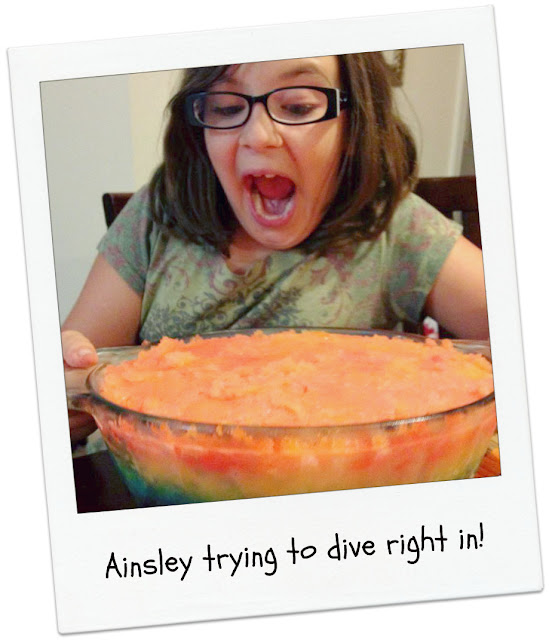
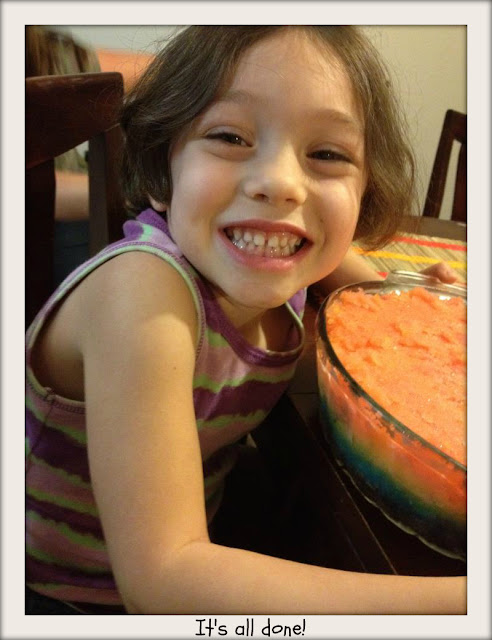
Guest Post by Tracey Thomas:  My kids and I decided to try out a cool “recipe” how to we discovered on Pinterest: Rainbow Slushies!  While it looks very cool, and it is something I never would have thought of on my own, it only cost us a whopping $3 to make! Which is great, since I am ALWAYS on the lookout for fun, inexpensive things we can do together. This is also a fun activity for all ages; my 4 year old was very involved, and it kept the interest of my older kids, as well. Target age: Preschooler to Fourth Grade


Rainbow Slushie Popsicle Recipe for kids party Snow Cone Ice Pops
Rainbow Slushy How to... It's an Ice Cone in a party dish.

The steps are very simple; buy ‘ice pop’ style POPSICLES, freeze, and sort them by color (ours did not have the same amount of each color, but we made it work!).

Choose a glass dish (we used a 2 qt casserole dish) and pop it into the freezer to get it nice and cold.

After sorting the popsicles, place all of them back into the freezer to keep them from thawing out and only take out one color at a time as you are using it.


Fun Snow Cone Recipe How do you make slushy
Prepping for Snow Cone.

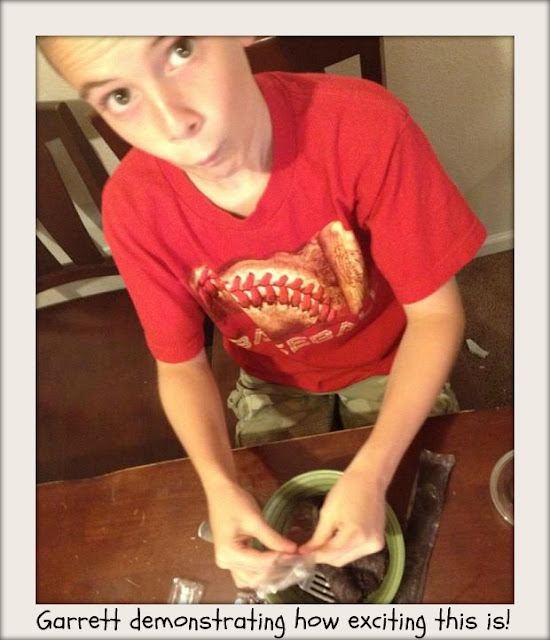
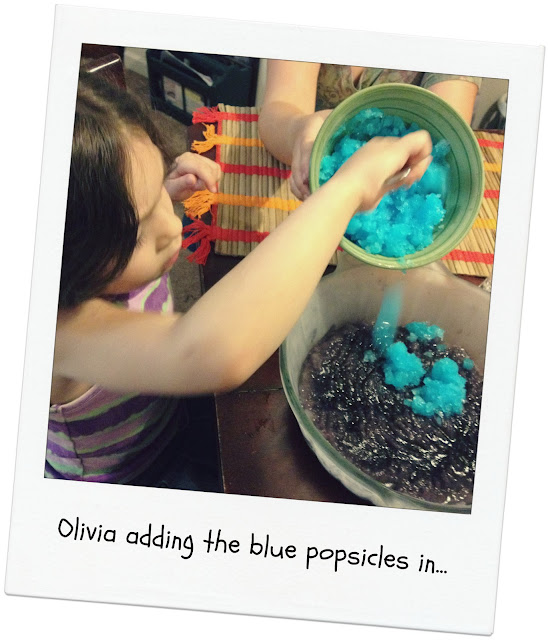
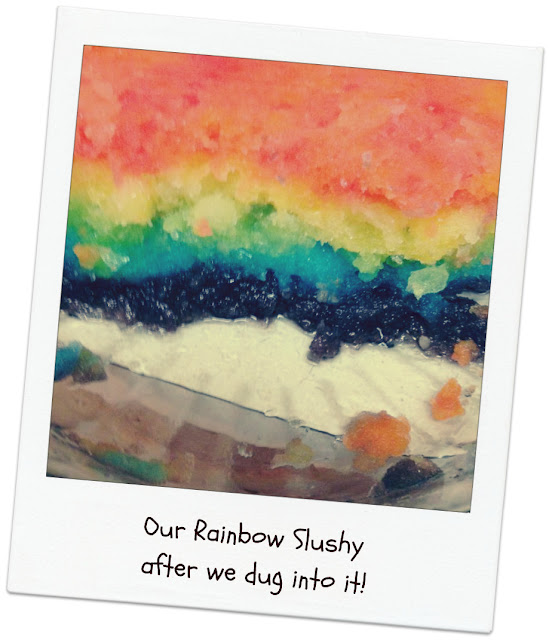
  • We started with grape at the bottom; open each grape popsicle and dump into a smaller bowl and crush them up. Be careful not to mush it up to the point that they are melting! (We eventually found it easier to crush them with a glass while still unopened and then dump them into the bowl and mix together.)
  • Dump the smashed up bits into the glass dish that has been waiting in the freezer, and smooth it out with a fork or spoon.
Make a Bowl full of slushies for a kids birthday party
Layering Popsicle Shaved Ice for a Rainbow Effect.
  • Repeat with each color! Be sure to place glass dish back into the freezer between each color to prevent colors from running together.
How do you make a homemade slushie for a party?
Time to Party and Eat a yummy homemade slushy.

This would be great for birthday parties or pitch-ins, but we made it just because!

Rainbow Slushie Recipe Slushy
Rainbow Ice in a giant slushy. No cone needed.


Recommended Reading:


People's Pops: 55 Recipes for Ice Pops, Shave Ice, and Boozy Pops from Brooklyn's Coolest Pop Shop*

Rainbow Graham Cracker Sandwiches

What Makes a Rainbow*


Duh! Leprechaun or Santa hand-print craft for preschool

Easy Santa hand-print craft for preschoolers.

Jealous Much? I  came up with this hand-print leprechaun craft for preschool a few years back. It never occurred to me that I could also turn the handprint into a Santa Enjoy!


craft for preschool
Leprechaun, just paint red and white for Santa Handprint.
Now why didn't it occur to me to do Santa? Found this on Pinterest.  What a great idea for a Homemade Christmas Card from She Knows.


Santa Family Handprints Gift from How Does She.

Recommended:

Santa Gift Bag Idea

How to Catch Santa*

Santa Tangram Activity


ADS DISCLOSURE: We've partnered with some wonderful advertisers who may sponsor blog posts or send us samples to test. Some companies pay us to review their products.

*We also use affiliate links, if you make a purchase we get a tiny commission. Kids Creative Chaos participates in the Amazon LLC Associates Program*, an affiliate advertising program designed to provide a mean for blogs to earn advertising fees by linking to Amazon properties, including, but not limited to, amazon.com, endless.com, myhabit.com, smallparts.com, or amazonwireless.com. We also offer Tapinfluence, Google Adsense, SoFab, and Izea ads here. Thanks so much for helping us keep the lights on! :)


Painting with Gourds and Mini-Pumpkins Craft = Happy Accident

Paint with pumpkins and gourds: A fun, Fall Thanksgiving Craft for Kids

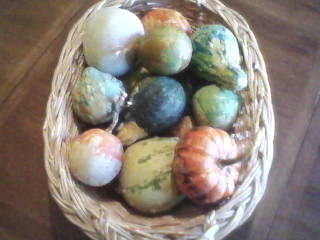
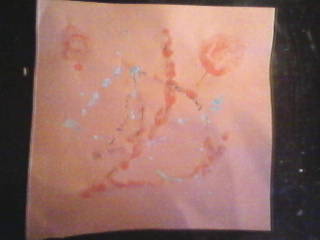
This is a happy accident! We used our pumpkins and gourds as stampers and rollers. We painted them in different colors and then pressed and rolled them onto paper. The kid's had a blast! When we were ready to clean up, I noticed the paint had dried onto the squash. It was so beautiful that I tossed them in a basket and called them a Thanksgiving Centerpiece! You might also like this Acorn Squash Recipe.


Thanksgiving Centerpiece with painted gourds and pumpkins
Painted Mini-pumpkins and Gourds centerpiece for Thanksgiving.


Look at these lovely squash.

The kids painted with pumpkins and gourds resulting in a beautiful bi-product.


Paint with pumpkins and gourds: A fun, Fall Thanksgiving Craft for Kids
Rolling Pumpkin Art with edible paint.

Grab some paint or make your own with cornstarch, food coloring, and water.

Roll or press the squash in the paint.
Roll it across the paper or use it like a rubber stamp.

Results:


Beautiful works of contemporary art, frame worthy.


Make your own beautiful Thanksgiving centerpiece basket.

Happy accident?  A  lovely centerpiece basket full of colorful fall vegetables.


Recommended Reading:

Totline Busy Bees Fall Fun for Two's and Three's

Ten Apples Up On Top!

Fall Crafts for Toddlers to Make